Force Plate Recalibration is Critical for Accurate Data and Performance

The Importance of Force Plate Recalibration
Force plates are built to endure many years of use, but they do need periodic recalibration to maintain their accuracy and reliability. Over time, normal wear and tear can affect the sensors and electronic components within the force plates, potentially leading to small inaccuracies in the data they collect. Regular recalibration addresses these issues by correcting deviations, ensuring precise measurements, and maintaining consistent performance. Therefore, the ASTM F3109-23 Standard published by the American Society for Testing and Materials (ASTM) recommends that multi-axis force plates be factory-recalibrated every three to five years.
When Should Your Force Plate Be Recalibrated?
Outside of the ASTM recommendations, the decision to send your force plate(s) to AMTI for recalibration service is ultimately up to your discretion. Every research lab and experiment have different requirements for data accuracy and margins of error, leading some customers to opt for recalibration service more often than others. If you are considering recalibration service for your AMTI force plates, you can follow our In-House Testing Protocol to determine whether your force plates are still providing an acceptable range of data accuracy for your individual work.
Note: Because every customer and lab are unique and have varying requirements for force plate performance, customers are encouraged to alter or add to these in-house testing protocols in a manner that best suits them.
Customer In-House Testing Protocol for Multi-Axis Force Plates

Procedure
- Zero the force platform.
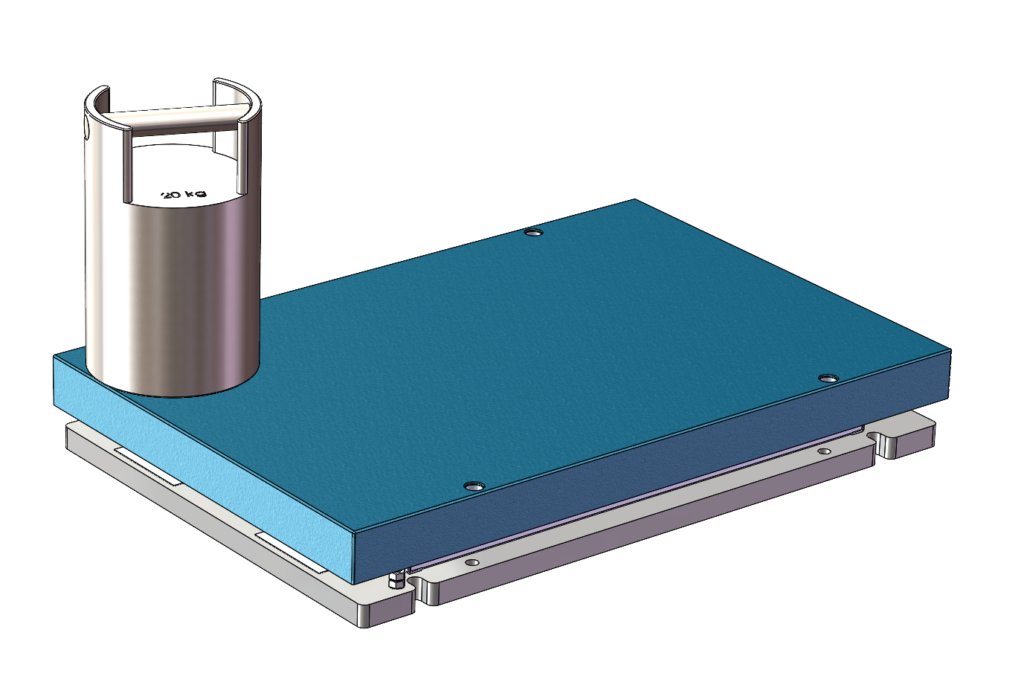
- Place a known, uniform weight (20-30 kg minimum) in one corner of the plate.
- Record readings for all 6 channels. (Fx, Fy, Fz, Mx, My, Mz)
- Repeat steps 1-3 for the other three corners of the plate.
- Place the weight in the center of the plate, and record readings again.
Analysis
- Fz values should be approximately the same for all locations.
- The magnitude of Mx values should be approximately the same for all four corners, with one side of the plate having opposite signs as the other. The moment values for the center of the plate should be approximately zero.
- My values should be approximately the same for all four corners, with one side of the plate having opposite signs as the other. The moment values for the center of the plate should be approximately zero.
Notes
Note 1: It is important to use a known, uniform weight for testing. A non-uniform weight with an off-center Center of Mass will cause the moment measurements to be changed when placing the weight in the same position for a future test.
Note 2: Error will be dependent on how accurately the weight is positioned for subsequent tests. There will be some inherent positioning error.
Note 3: Refer to AMTI’s force platform manual for diagram of force plate coordinate system.
The Importance of Recalibration and Data Accuracy in Biomechanics
Whether or not you choose to do your own in-house force plate verification, it’s important to consider the impact of data accuracy on the outcomes you are reporting. The position, orientation (angle of force), and magnitude of ground reaction forces are all affected by different error specifications reported for a force plate. Center of pressure (COP) error directly affects the position of the force vector, crosstalk influences the angle of the force, and the measurement error impacts the magnitude of the force. Seemingly small errors in force plate data will be compounded as your inverse dynamics calculations progress from the ankle to the knee, to the hip joint. Simply put, the accuracy of your force plates directly affects the reliability of research findings and clinical decisions.
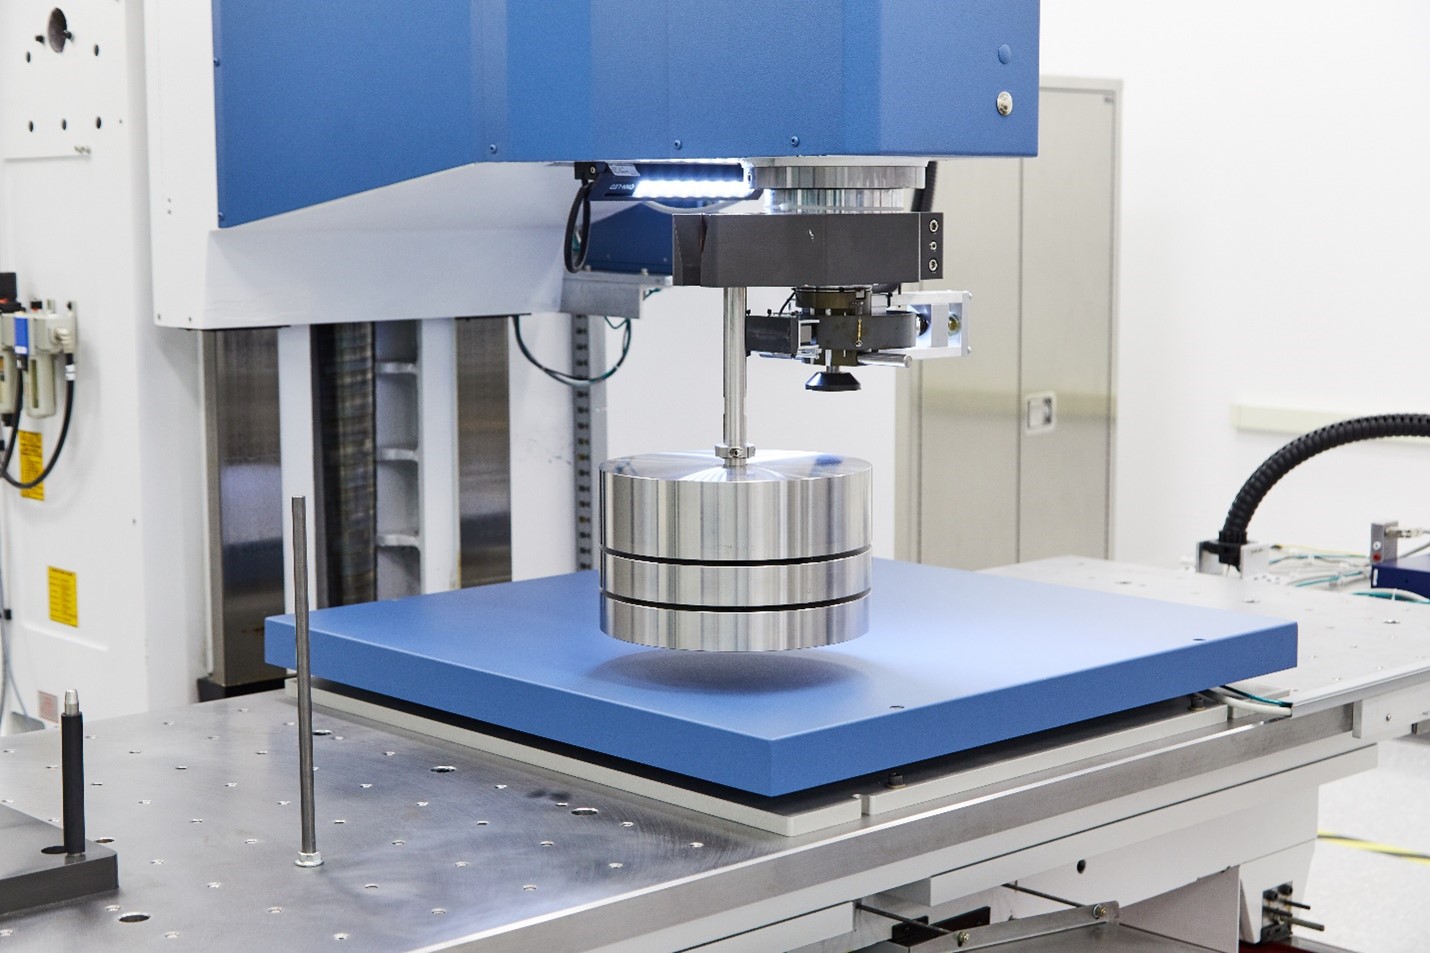
For this reason, if you’re not fully satisfied with the results of your in-house plate verification testing, we recommend shipping your plates for recalibration service. AMTI is the only force plate company that meets the ASTM F3109-23 Standard for multi-axis force platform verification, so you can have total confidence in the accuracy of your new calibration. Our patented Optima technology uses an exhaustive calibration process that consists of 4000 measurements over the entire working surface of the force plate with an absolute positioning accuracy of 0.005mm. This intensive, high-density calibration grid ensures a 10-fold improvement in accuracy above any other force plate on the market, offering elite precision right up to every edge of your force plate.
Check out our Calibration Services page to learn more and Request a Quote to get started today!